Last updated November 18, 2026
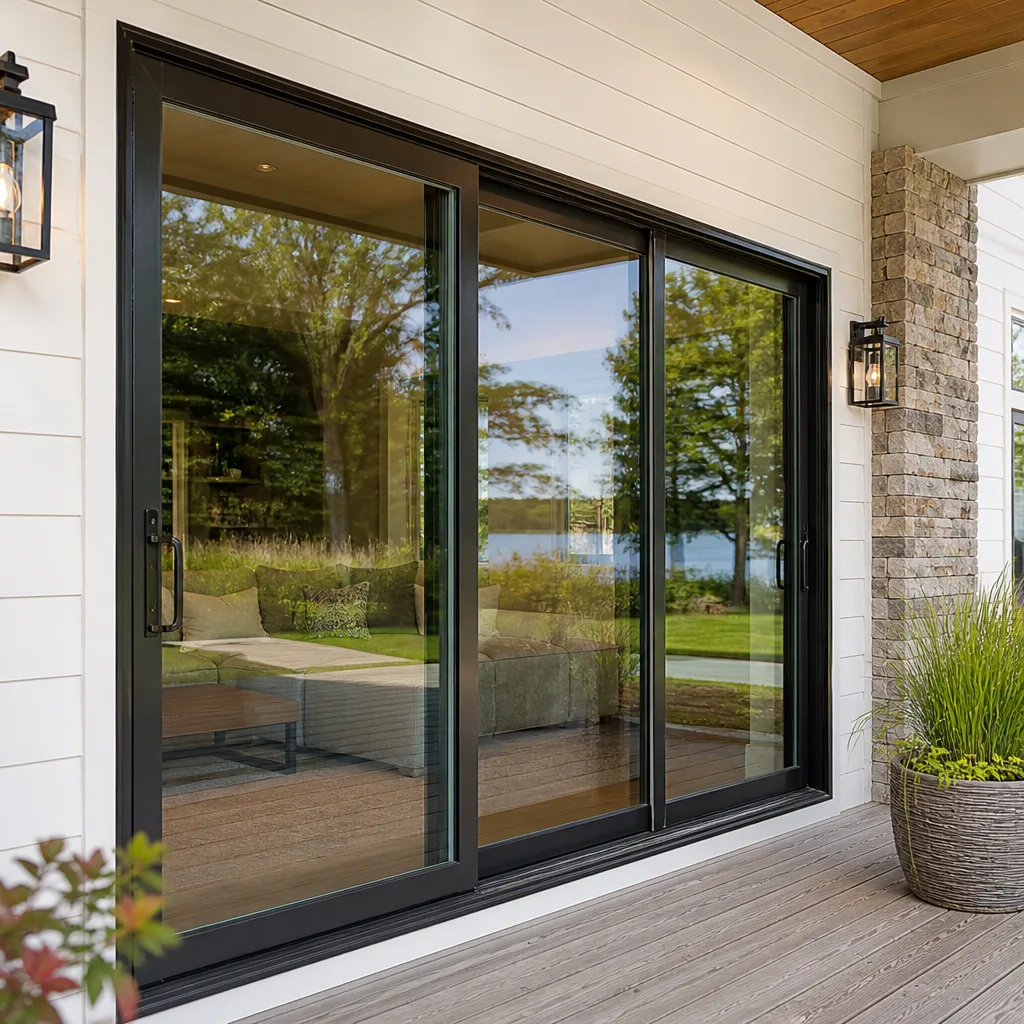 Sliding glass doors
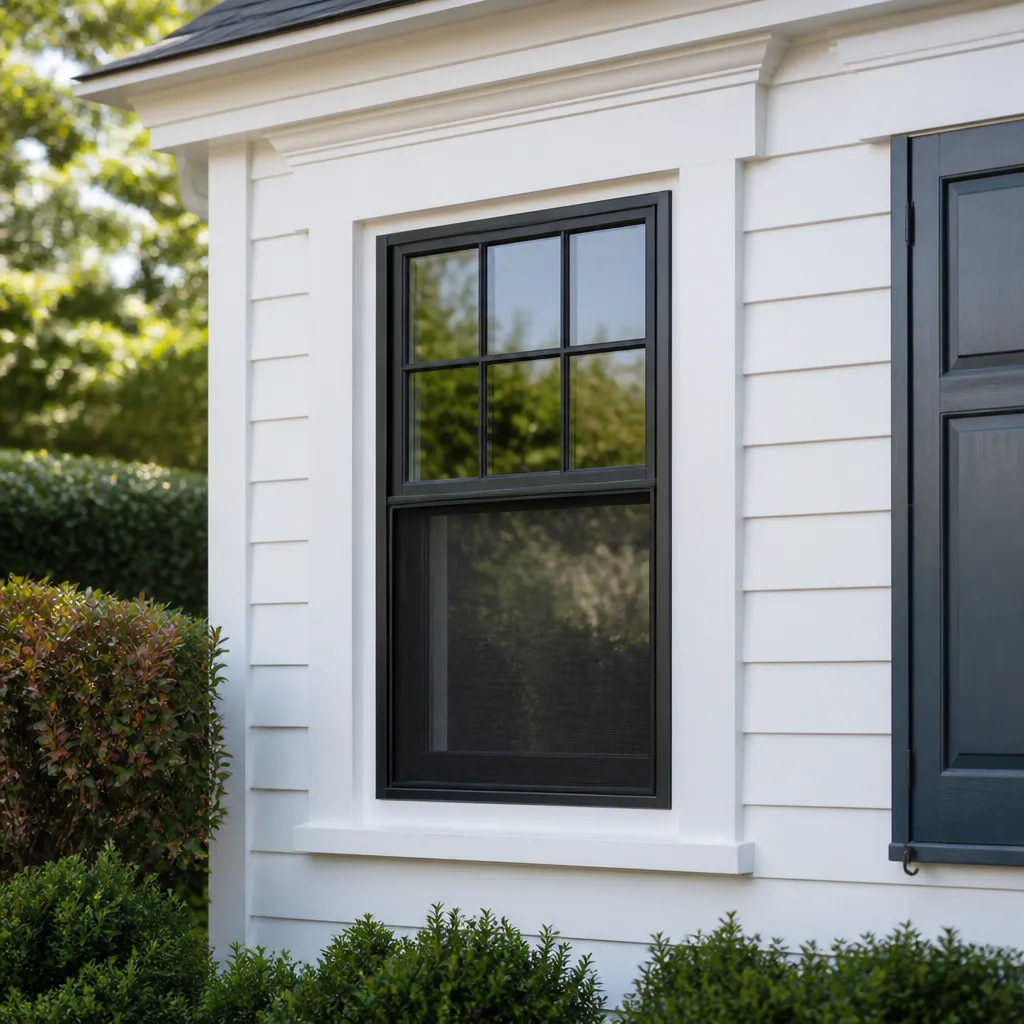 Single hung
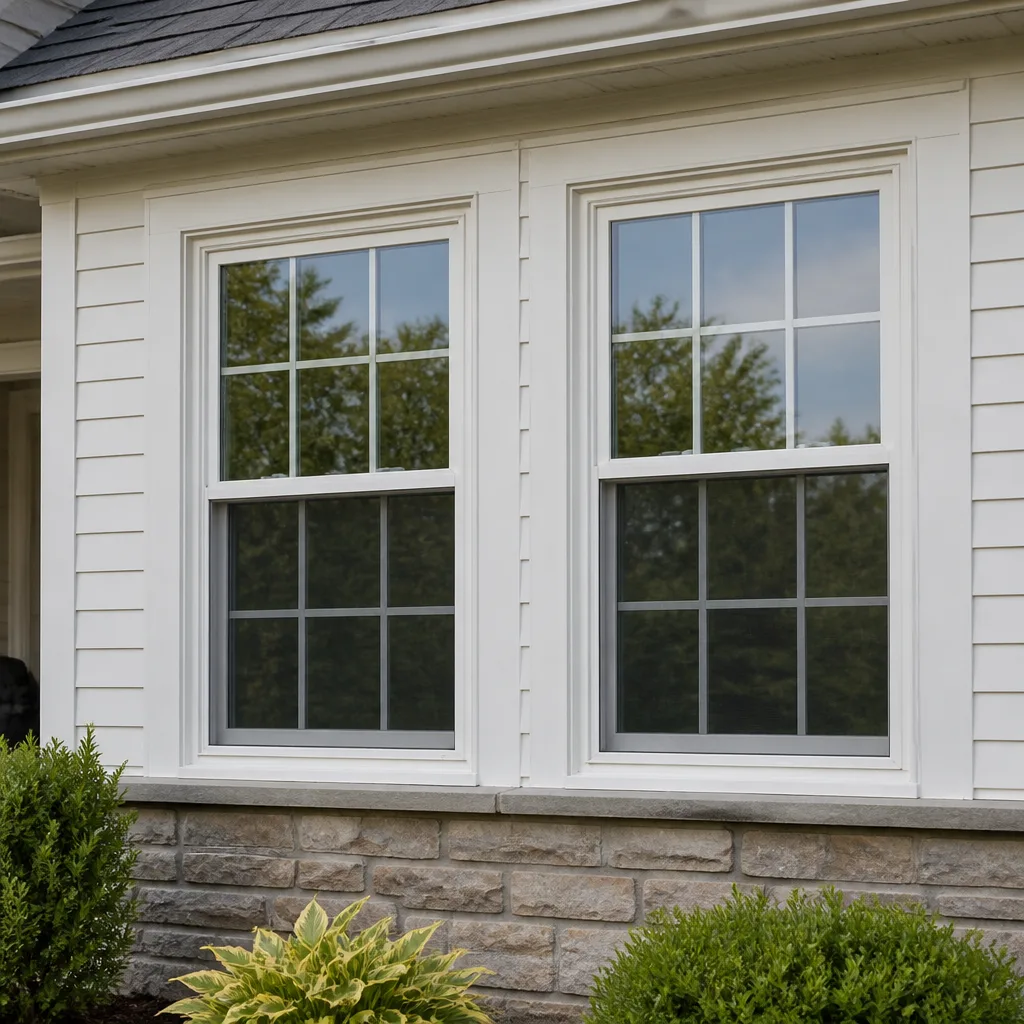 Double hung
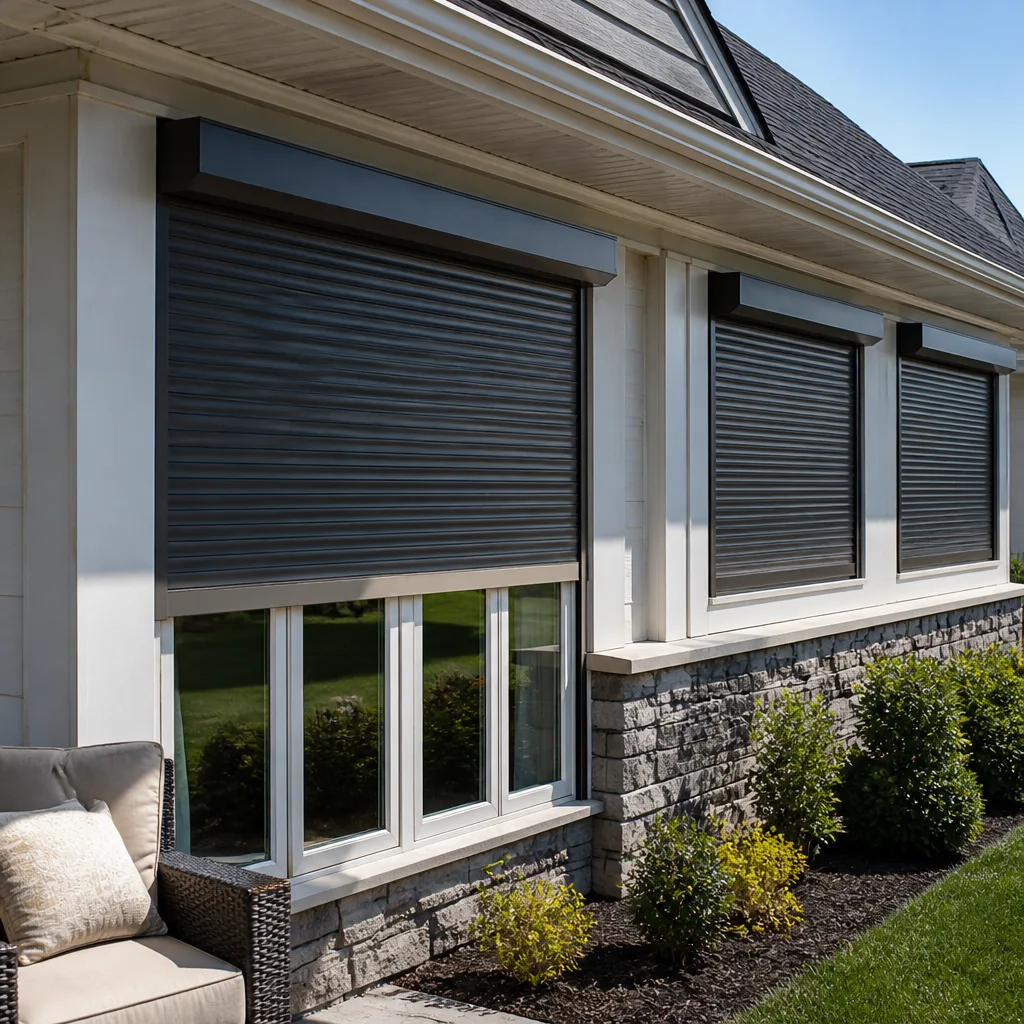 Horizontal roller
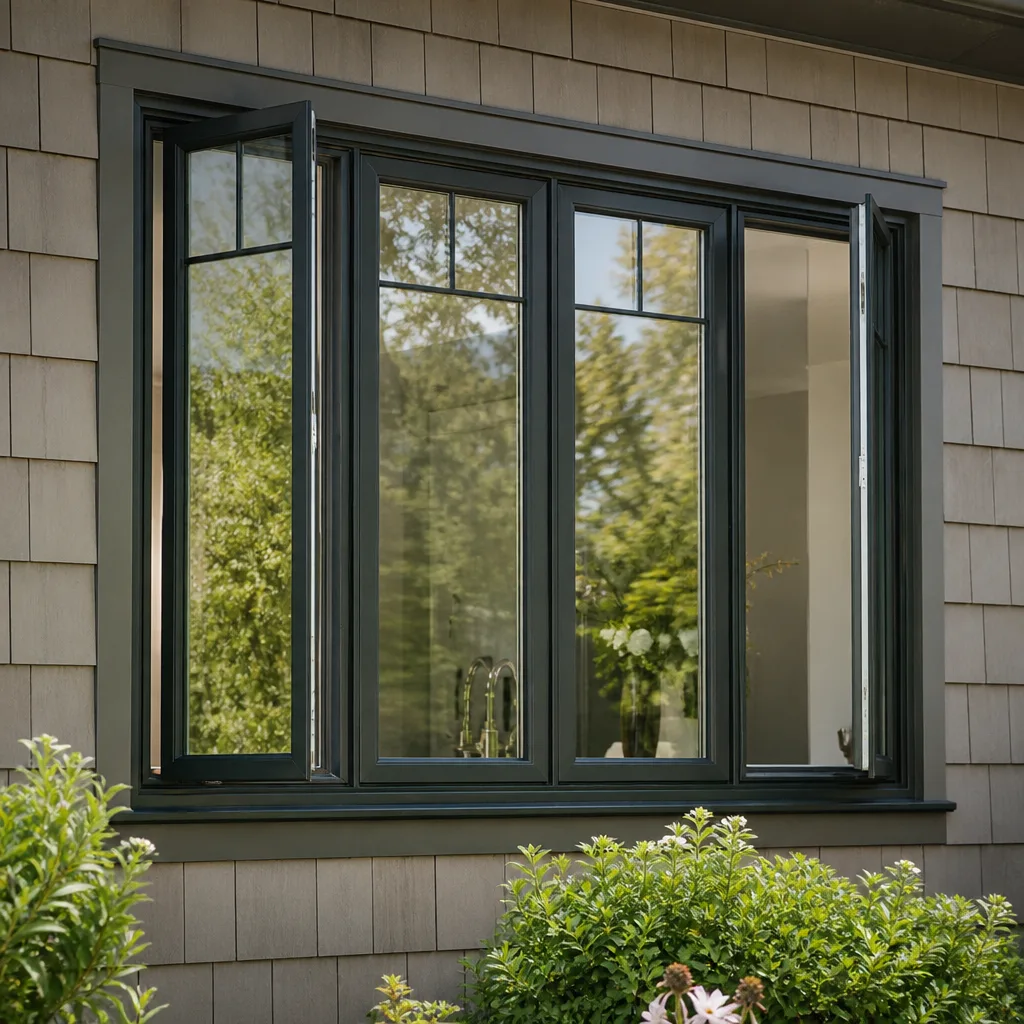 Casement
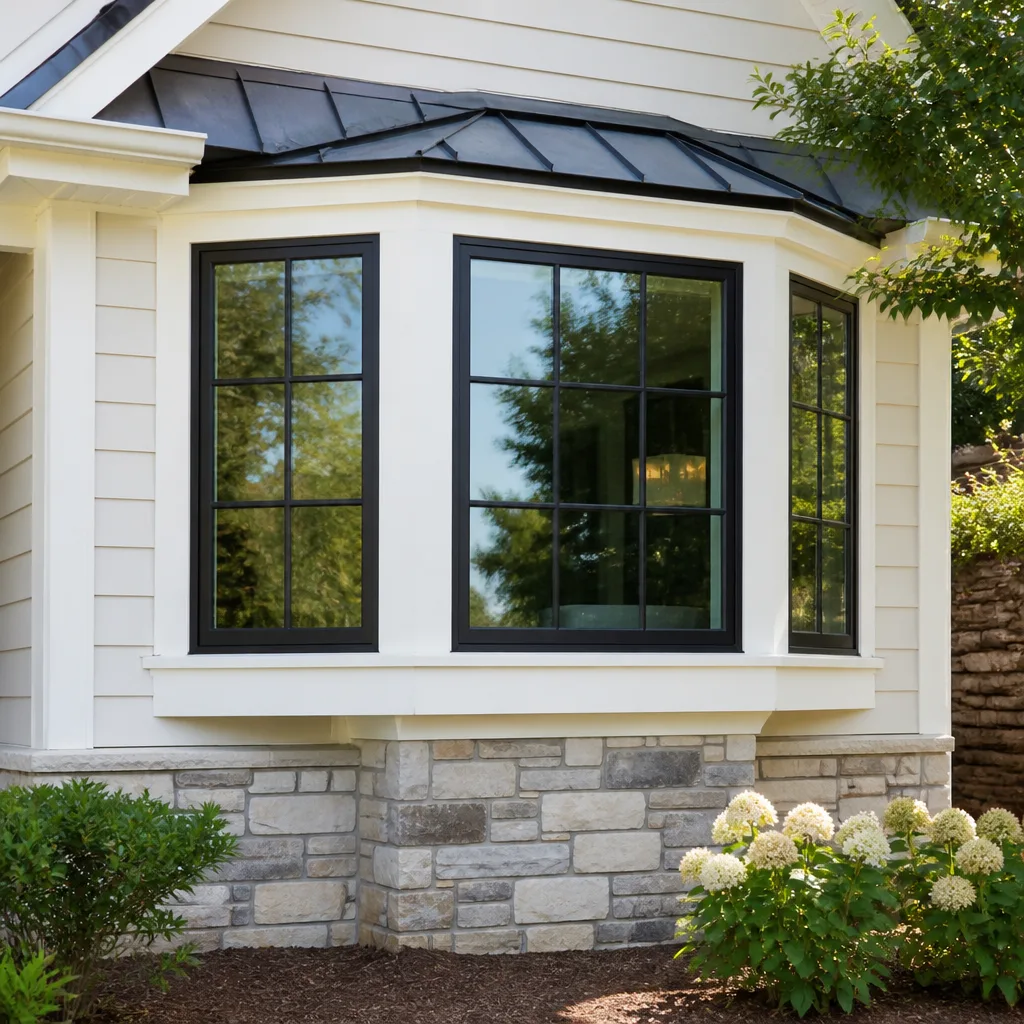 Bay & bow
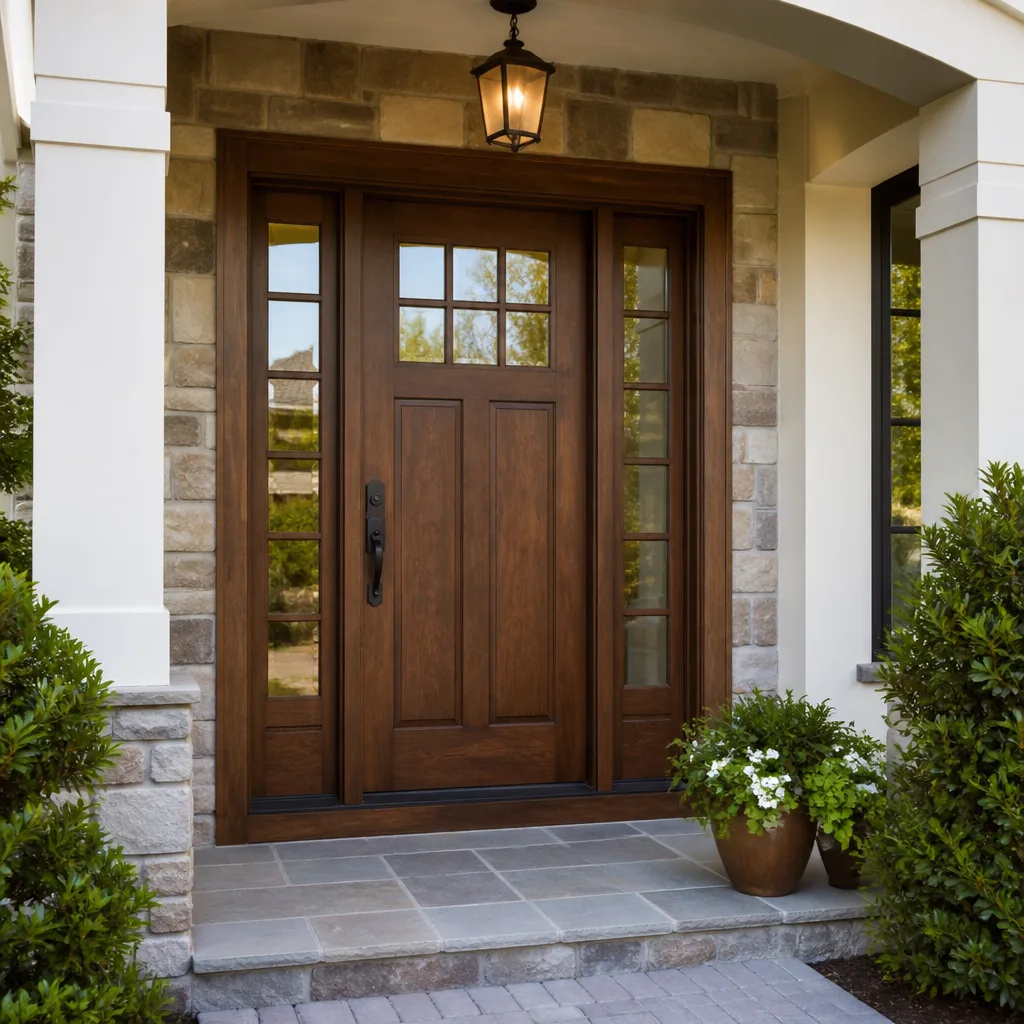 Entry doors
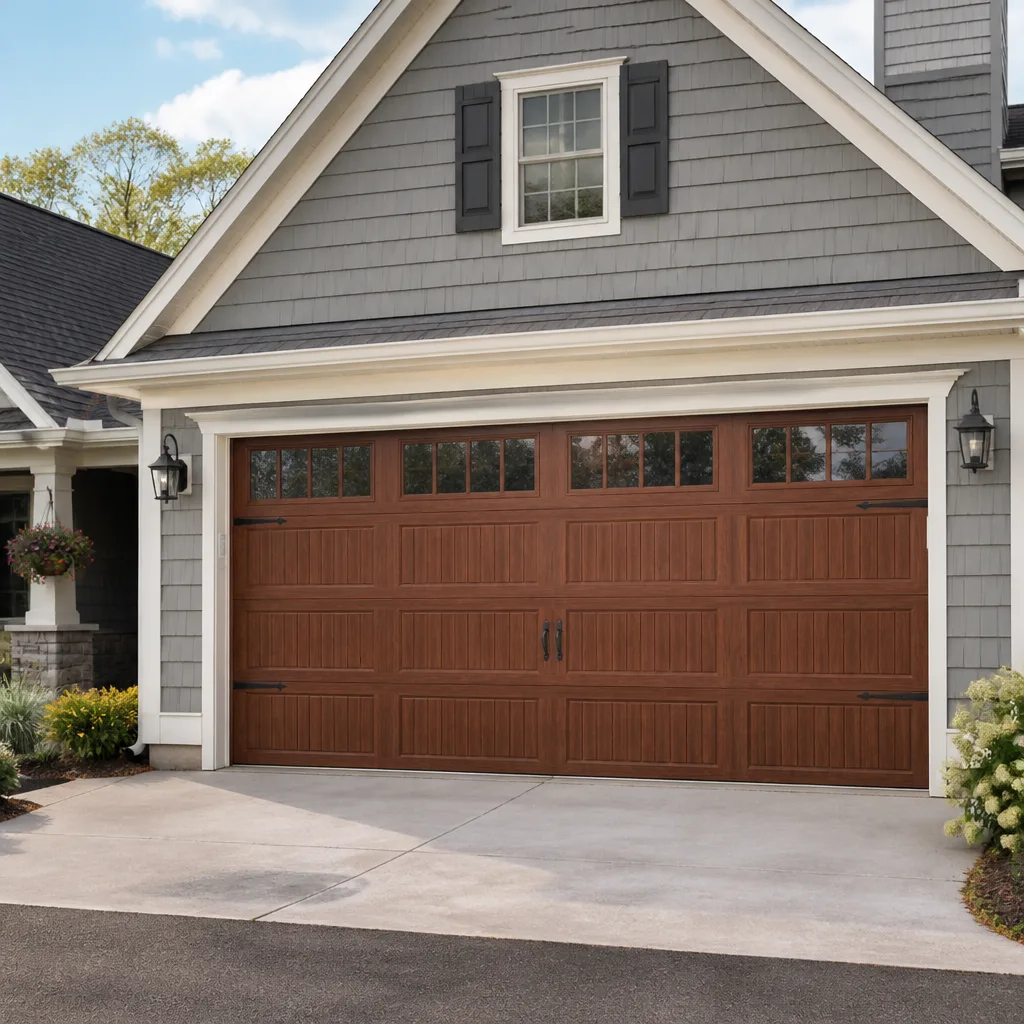 Impact garage doors
 PGT
 CGI
Free in-home measure and quote - PGT, CGI and CWS impact lines compared on your actual openings, style by style
Get your free estimateDIY vs Professional Windows & Doors: The Whitney Homeowner’s Decision Guide
Most homeowners frame the DIY-versus-professional question as a test of skill. Can I handle this, or can’t I? That framing misses the point. The better question is: if this goes wrong, what does wrong look like, and can I live with it? A homeowner who replaces a door slab but gets the threshold seal wrong is looking at a draft and a nuisance. A homeowner who installs a window but misses the sill pan flashing detail has opened a water path that may sit quietly for two or three monsoon seasons before the damage surfaces inside a wall. This guide maps Whitney-area window and door tasks against their actual failure consequences, so you can decide with your eyes open instead of defaulting to either extreme.
Quick Answer
Small tasks like weatherstripping, hardware swaps, and door slab replacement are reasonable DIY projects for a careful homeowner. Full window or door replacement, especially frame replacement in stucco or anything that touches flashing and the building envelope, should go to a licensed installer. The dividing line isn’t difficulty. It’s what a mistake costs to fix later. Whitney Windows & Doors offers free estimates for anyone who wants a professional number to compare against.
Styles & brands we work with
- Single hung
- Double hung
- Horizontal roller
- Casement
- Bay & bow
- Sliding glass doors
- Entry doors
- Impact garage doors
- PGT
- CGI
Table of Contents
- The Task-by-Task Risk Matrix
- What Nevada Code Says About Owner-Builder Permits
- The Flashing and Air-Sealing Steps DIYers Skip
- How Manufacturer Warranties Treat DIY Installation
- The Real DIY Cost-Savings Calculation
- Why Whitney’s Climate Raises the Stakes
- Common Mistakes to Avoid
- When to Call a Professional
The Task-by-Task Risk Matrix
The cleanest way to think about this is a two-axis grid. On one axis, how hard is the task? On the other, what happens when it fails? Most window and door work lands in one of three buckets, and only the first bucket belongs on a DIY list.
Low risk, good DIY candidates
- Weatherstripping replacement on doors and operable windows. A failed seal means a draft or a rattle, not structural damage. Easy to redo.
- Hardware swaps: handles, locksets, hinges, rollers, and latches. Worst case is a non-latching door you can adjust or re-hang.
- Door slab replacement into an existing frame, when the frame is sound and square. The heavy lifting is measuring and hanging, not envelope work.
- Caulking and touch-up sealing at existing joints. Straightforward, cheap to correct, and genuinely useful as seasonal upkeep.
- Screen and storm panel repair. No envelope penetration, no permit exposure, minimal risk.
Medium risk, proceed with real caution
- Replacing a pre-hung door in an existing opening. Doable for a confident homeowner, but level, plumb, square, and threshold seal all have to be right or the door will leak air and water at the bottom corner.
- Replacing a window in a wood-frame opening where the existing flashing is intact and the new unit is a direct fit. The margin for error shrinks fast.
- Any work on a door in a wall that faces the prevailing storm direction. Wind-driven rain finds weak seals.
High risk, professional required
- Full frame replacement in stucco. Cutting stucco, installing new flashing, and re-integrating the weather barrier correctly is envelope surgery. This is the single most common place we see DIY water damage.
- Anything that requires pulling or altering structural framing.
- Impact-rated window installation where the product’s performance rating depends on correct anchoring and sealing.
- Sliding glass door replacement, which combines weight, a large opening, and a threshold that has to drain correctly.
- Any job that requires a permit and inspection, which we’ll cover in the next section.
What Nevada Code Says About Owner-Builder Permits
Nevada allows a homeowner to act as their own general contractor on their own primary residence through an owner-builder permit, which means self-installation is legally possible in some cases. It is not a blanket exemption. The rules that matter most for windows and doors are these:
- Owner-builder status applies to a home you own and occupy, not to a rental, a flip, or a second property. It’s tied to the residence you live in.
- You still need a permit for work that triggers one, and window and door replacement in an exterior wall often does. You apply as the owner-builder and you carry the inspection responsibility yourself.
- You cannot hire unlicensed help for the work and still claim owner-builder status in the way the permit contemplates. If you bring in a contractor, that contractor has to be licensed for the work.
- You take on the liability. An owner-builder permit shifts inspection and warranty responsibility onto the homeowner. If a future buyer’s inspector finds an unpermitted or improperly flashed installation, that’s your problem to resolve.
- Seller disclosure matters. Work done under an owner-builder permit can complicate a sale if the paperwork isn’t clean.
We’re not attorneys and this isn’t legal advice, but here’s the practical takeaway: before you self-install, call your local building department and ask two questions. Does this specific replacement require a permit, and can I pull it as an owner-builder? If the answer to either is unclear or unfriendly, that’s your signal. For an installer who handles the permit and inspection side of window replacement, that’s part of what we do. A licensed contractor carries the permit and the inspection, which removes a whole category of future headaches. You can read more about our window replacement process to see how that handoff works.
The Flashing and Air-Sealing Steps DIYers Skip
In our experience, the DIY installs that fail rarely fail at the visible part. The window looks fine from the living room. The failure lives in the layers you can’t see once the trim goes back on. Here are the specific steps most commonly skipped, and what each one costs you when it fails.
The sill pan and back-dam
Water that gets behind a window needs a path to drain back out. A properly sloped sill pan with an upturned back dam does that. Skip it and water pools at the bottom of the rough opening, sits against the sheathing, and finds its way into the wall cavity. That’s the slow leak that shows up as a soft spot in drywall, a stain on a ceiling below, or worse, rotted framing. Repair starts with opening the wall. On a full replacement, the fix can run several times the original install labor to correct.
The head flashing and weather barrier integration
Flashing has to lap in the right direction and integrate with the weather-resistive barrier behind the stucco. It’s the difference between water shedding off the wall and water getting behind it. When this is done wrong, the damage usually appears at the top corner of the window frame first, then spreads. That’s where a monsoon season earns its reputation as a slow truth-teller.
Air sealing at the rough opening perimeter
Low-expansion foam or backer rod and sealant at the perimeter closes the gap between frame and opening. Skip it and you get two problems: air infiltration that wrecks energy performance, and a channel for wind-driven rain. In Whitney’s summer heat and winter cold swings, that gap becomes a running cost every month of the year.
The sill seal and shim contact points
Shims transmit the window’s weight to the framing. If they’re placed wrong or the sill seal is compressed flat, the window can rack out of square, which means the sash won’t seal and the lock won’t line up. That’s an operation problem, not a leak, but it’s the one DIYers notice first and can’t easily undo.
Exterior sealant with the right joint geometry
A thick bead of caulk smeared over a wide gap is not a seal. It’s a shelf for water. Proper joints use backer rod and a controlled bead that flexes with the building. When this fails, you get a hairline crack you ignore until the next storm pushes water through it.
How Manufacturer Warranties Treat DIY Installation
Here’s the part that rarely makes it onto the DIY video. Product warranties and installation warranties are two different things, and many manufacturers condition the first on the second. Read the paperwork for the specific product line before you buy, but the pattern you’ll see across the industry is this:
- Product coverage usually assumes professional installation. Glass seal failure, frame defects, and finish failures are often covered only when the unit was installed by a licensed contractor to the manufacturer’s written instructions.
- Labor is almost never covered by the product warranty. Even when a replacement sash is covered, the cost to remove, reinstall, and finish is on the homeowner. On a DIY install, it’s entirely on you.
- Installation warranties are separate and typically tied to the installer. When a specialist contractor installs the unit, there’s a documented installation warranty in addition to the product warranty. When you install it yourself, there’s no second warranty layer to fall back on.
- Water intrusion coverage is narrow and installation-sensitive. Most exclusions for water damage trace back to incorrect flashing or sealing. If the unit was self-installed, proving the product was at fault is very difficult.
- Some brands require registration and proof of professional installation to activate extended coverage. Miss that step and you’re on the base warranty, which is shorter.
The practical upshot: a DIY install can quietly void coverage on a product that cost real money. When we install brands like PGT impact-rated windows, the warranty story is part of the conversation, not an afterthought. That’s one reason brand-agnostic guidance matters. We carry eight brands, so we can tell you which one has the clearest coverage for your situation rather than steering you to a single supplier. Whitney Windows & Doors sells competing lines because your project deserves the best fit, not the easiest sell.
The Real DIY Cost-Savings Calculation
The DIY appeal is obvious. Skip the labor and pocket the difference. But the number most homeowners run is incomplete, because it only counts materials. A realistic savings calculation has to include everything you’d spend to do the job properly, and the probability-weighted cost of the mistakes you might make.
What the honest DIY budget includes
- Materials at retail, not contractor pricing. The unit cost a professional pays is not the unit cost you pay. That gap eats into the “savings” before you’ve turned a screw.
- Permit fees. If the job requires a permit, the fee is the same whether you or a pro pulls it. But the inspection burden lands on you.
- Tool rental or purchase. A rotary hammer for stucco, a good level, a brake for bending flashing, a ladder rated for the height, and safety gear for the work at height. Some you own. Some you don’t. None of it is free.
- Waste disposal. Old windows and doors don’t fit in the trash bin. That’s a dump run or a haul-away fee.
- Your time, honestly counted. A full window replacement in stucco is a multi-stage job: demo, framing check, flashing, install, seal, stucco patch, trim, paint. If you’re working evenings and Sundays around your own schedule, the timeline stretches to weeks, not days.
What the probability-weighted mistake cost looks like
Here’s the part nobody puts on a spreadsheet. Not every DIY job fails, but the ones that do tend to fail in expensive ways. A missed sill pan, a flashing detail done backward, or a rough opening that wasn’t square rarely shows up as a small fix. It shows up as drywall repair, framing repair, and a re-install, plus the original cost you already spent. Even a modest probability of that outcome, multiplied across the number of units in the project, changes the math. Factor it in honestly and the DIY savings often narrows to less than the value of getting it right with a written line-item quote and a professional installation warranty behind it.
The other point worth making: this is exactly the trade we’ve built our business around. Our window installation service exists because envelope work has a specific failure profile that rewards specialty focus. We don’t do roofing or general contracting. Windows and doors only. That narrow scope is why our estimators can talk flashing and drainage in the same conversation as energy performance and product selection.
Why Whitney’s Climate Raises the Stakes
Whitney isn’t a mild-climate market, and that matters directly to the DIY decision. Summer heat drives thermal expansion at the frame and stresses sealants that were applied thin. Winter cold swings the other way and opens up hairline gaps. The monsoon season delivers wind-driven rain against exterior walls, which is precisely when flashing and sill pan details get tested. Combine that with the local reality of stucco construction, and the emphasis on sealing isn’t theoretical. Stucco walls tolerate moisture poorly. Water that gets behind them doesn’t dry quickly, so a slow leak becomes a structural story rather than a cosmetic one.
In this environment, a window or door installation that would get by in a milder climate gets tested harder in Whitney. That’s the honest case for using a professional for anything that touches the building envelope. Our technicians have up to 11 years of experience working in exactly these conditions, and the details they lean on are the ones this climate punishes when they’re skipped. If you’re comparing options for your home in Whitney, the climate context should be part of the conversation, not a footnote.
Common Mistakes to Avoid
- Cutting stucco without a plan for re-integrating the weather barrier. The cut is the easy part. Rebuilding the drainage plane behind it is where most DIYers lose the plot. Once water gets in, it can spread through the wall cavity before you see it.
- Skipping the sill pan because “the old one didn’t have it.” The old unit may have been leaking for years before it failed. Replace with the correct detail, not the old one.
- Reusing old flashing and sealant on a new unit. Aged flashing has lost its flexibility. Reusing it under a new window is a false economy that shows up at the first monsoon.
- Trusting a manufacturer’s product warranty without reading the installation condition clause. Many product warranties assume professional installation. Confirm before you buy.
- Pulling a permit late or not at all. In Whitney and the wider Nevada market, unpermitted work can complicate a future sale and shift liability onto you. Get the permit question answered before demo day, not after.
- Measuring from the inside only. Rough openings and masonry dimensions have to be confirmed from the exterior too. Under-measuring leads to a return, over-measuring leads to a hack job.
- Assuming a door slab swap is the same as a full door replacement. A slab swap reuses the existing frame. If the frame is rotten, out of square, or improperly sealed, you’ve solved the cosmetic problem and ignored the envelope one.
Each of these comes up because the visible work is easy to focus on. The invisible work is what separates a window that performs for decades from one that becomes a recurring repair. Whitney Windows & Doors treats the installation detail as the product, not the afterthought. That’s what our brand partnerships are built around. Therma-Tru entry doors, for example, depend as much on a correct threshold and perimeter seal as on the door itself.
When to Call a Professional
Call a professional when the work touches the envelope, the structure, or a code inspection. That covers full frame replacement in stucco, sliding glass door replacement, impact-rated window installation, and any job that requires a permit. Call when the existing flashing looks compromised, when the opening is out of square, or when you’re replacing more than a couple of units and the error cost compounds. Call when you want a written warranty that covers the installation, not just the product. And call when the job has to be right the first time, which is to say most of them. Whitney Windows & Doors offers free estimates in Whitney. Call (844) 722-8594. We answer 24/7. Fast dispatch from 7am to 7pm, Sunday through Friday.
See the difference
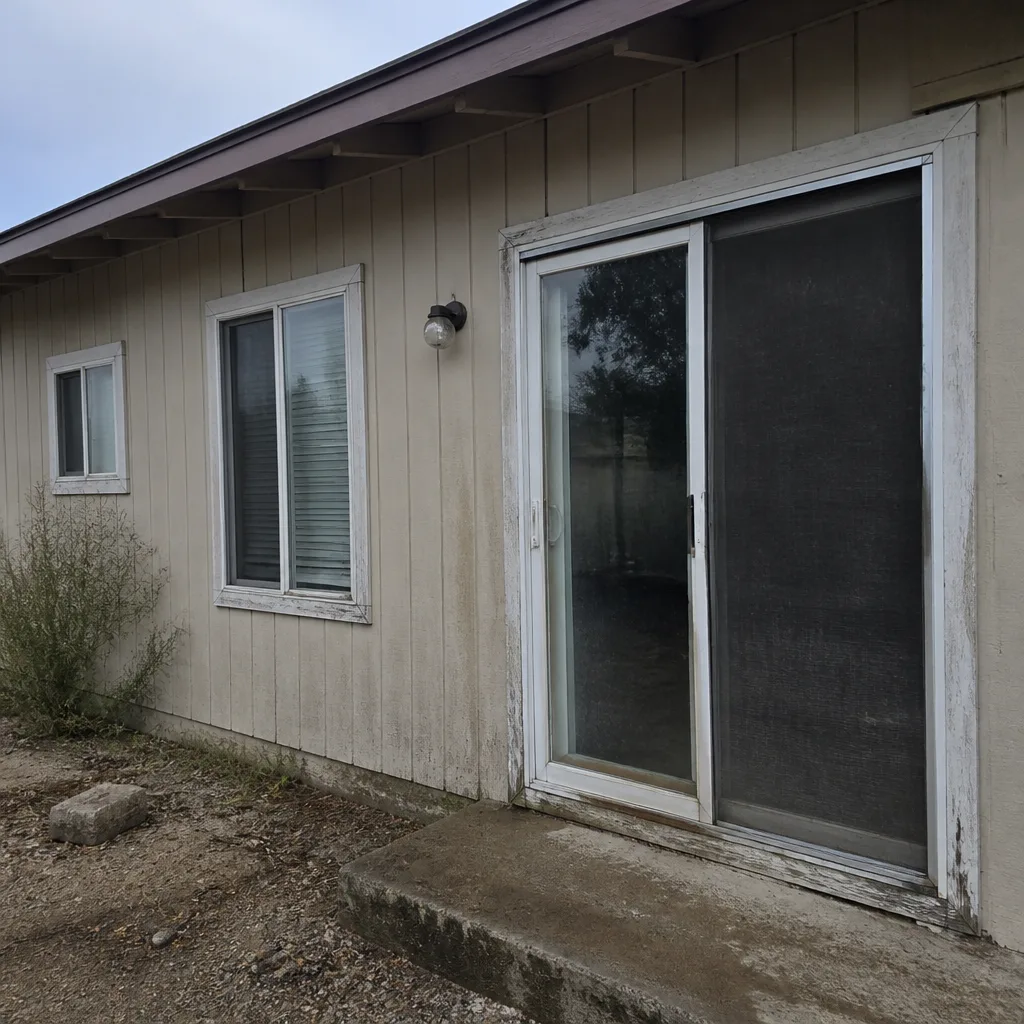 Before
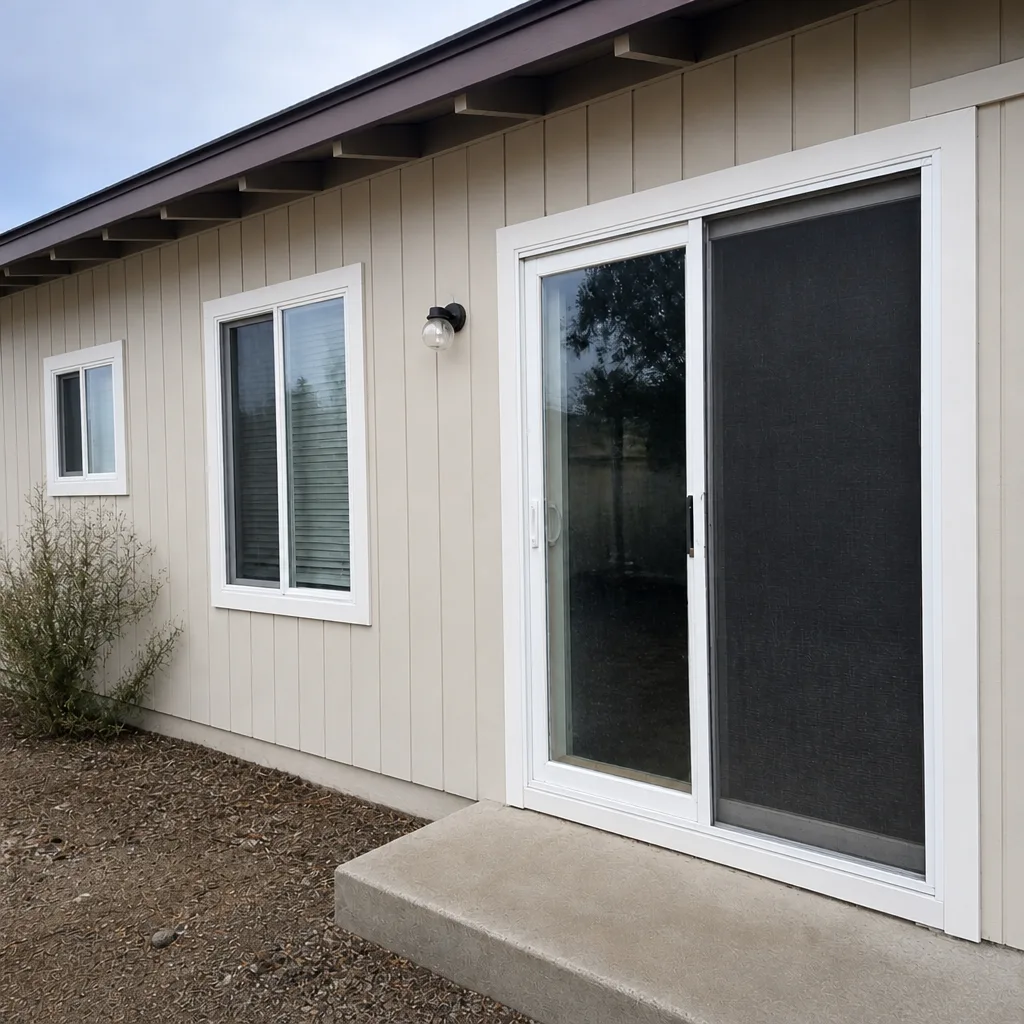 After
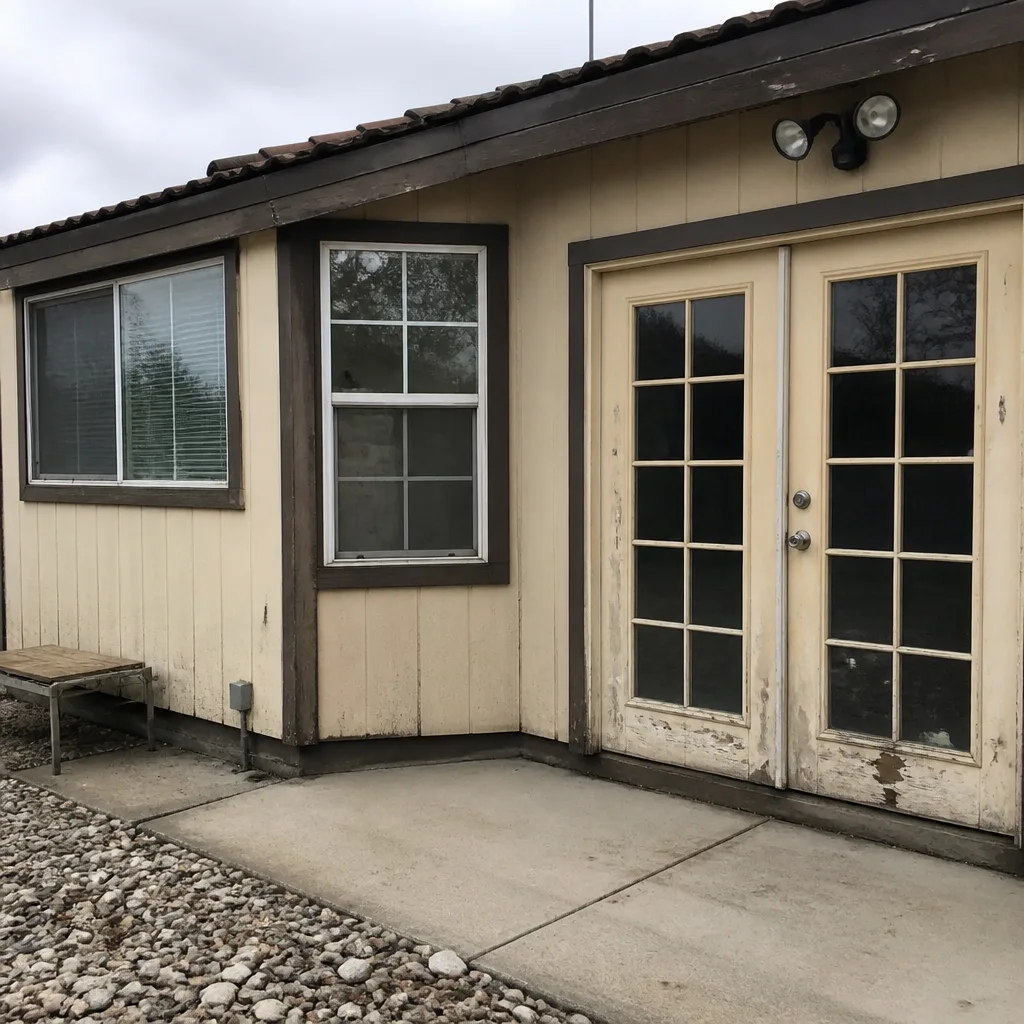 Before
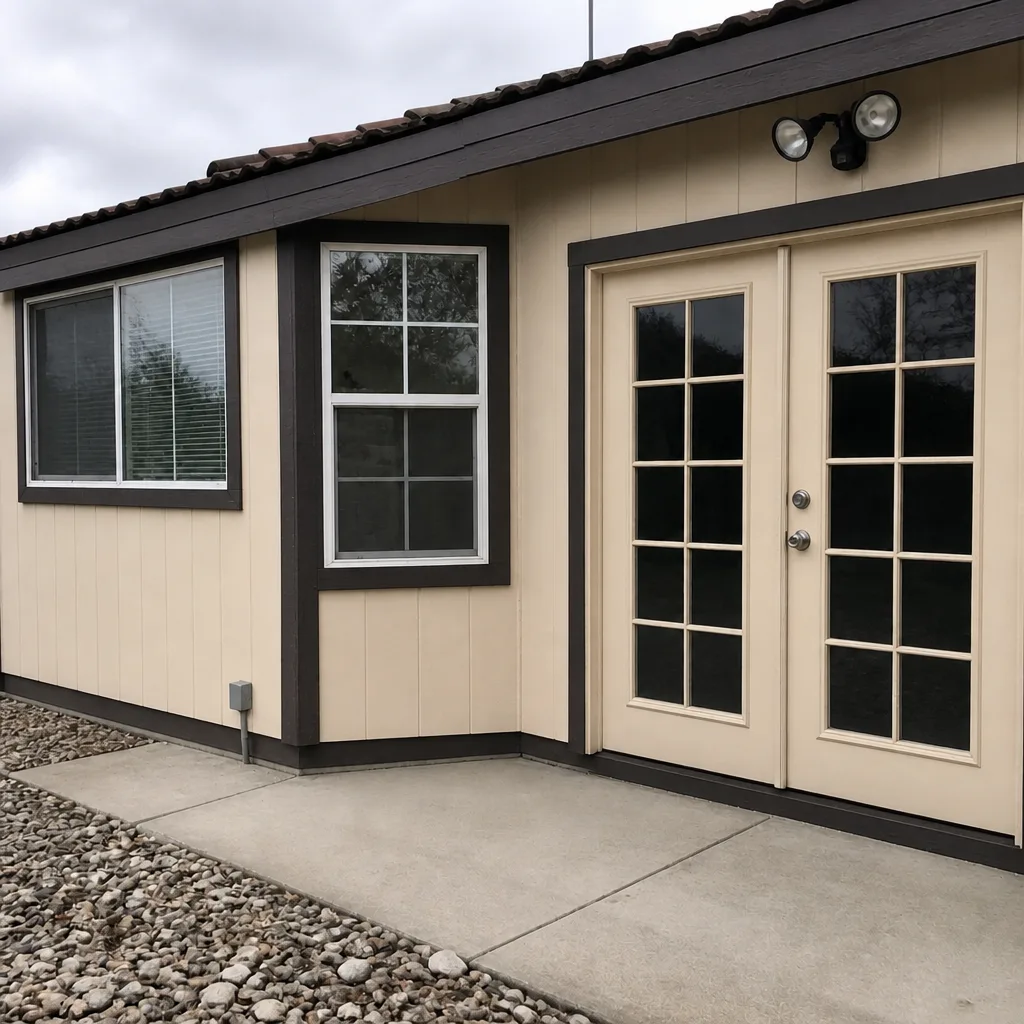 After
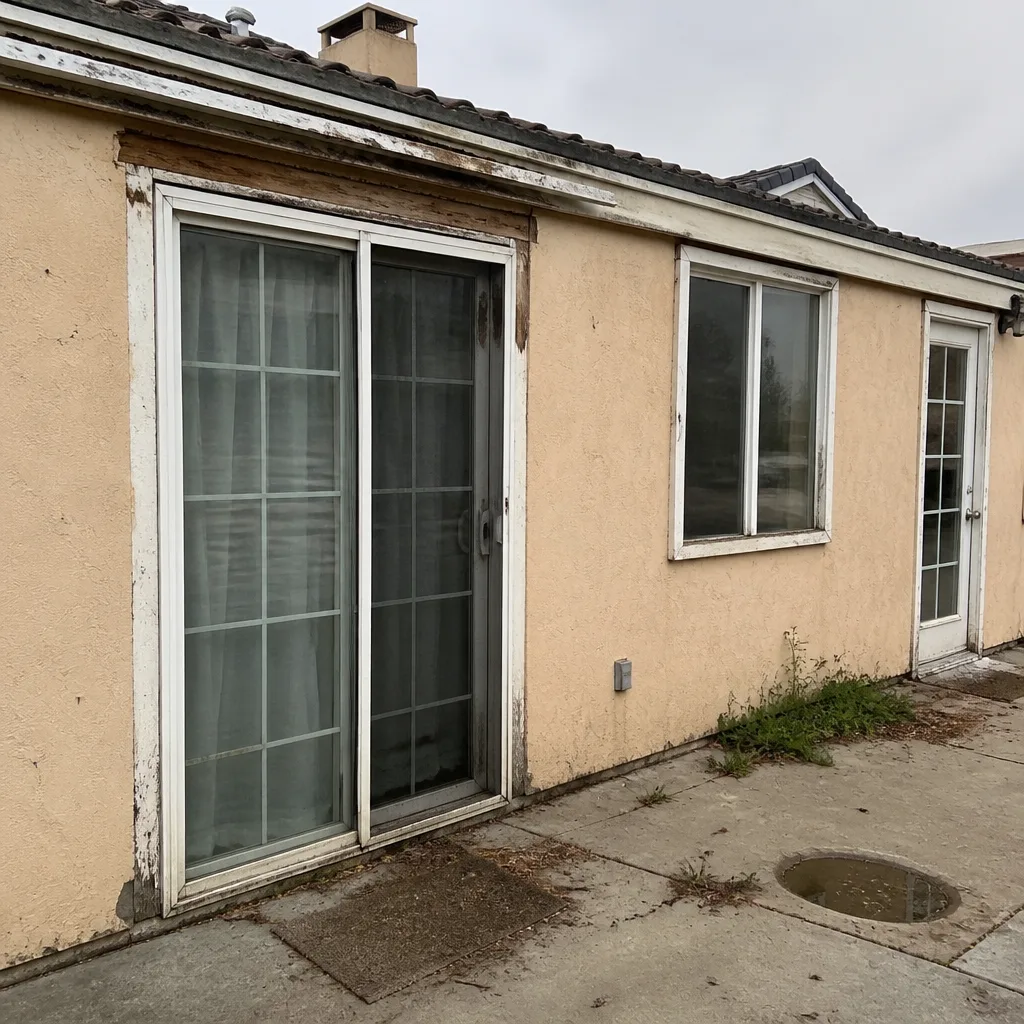 Before
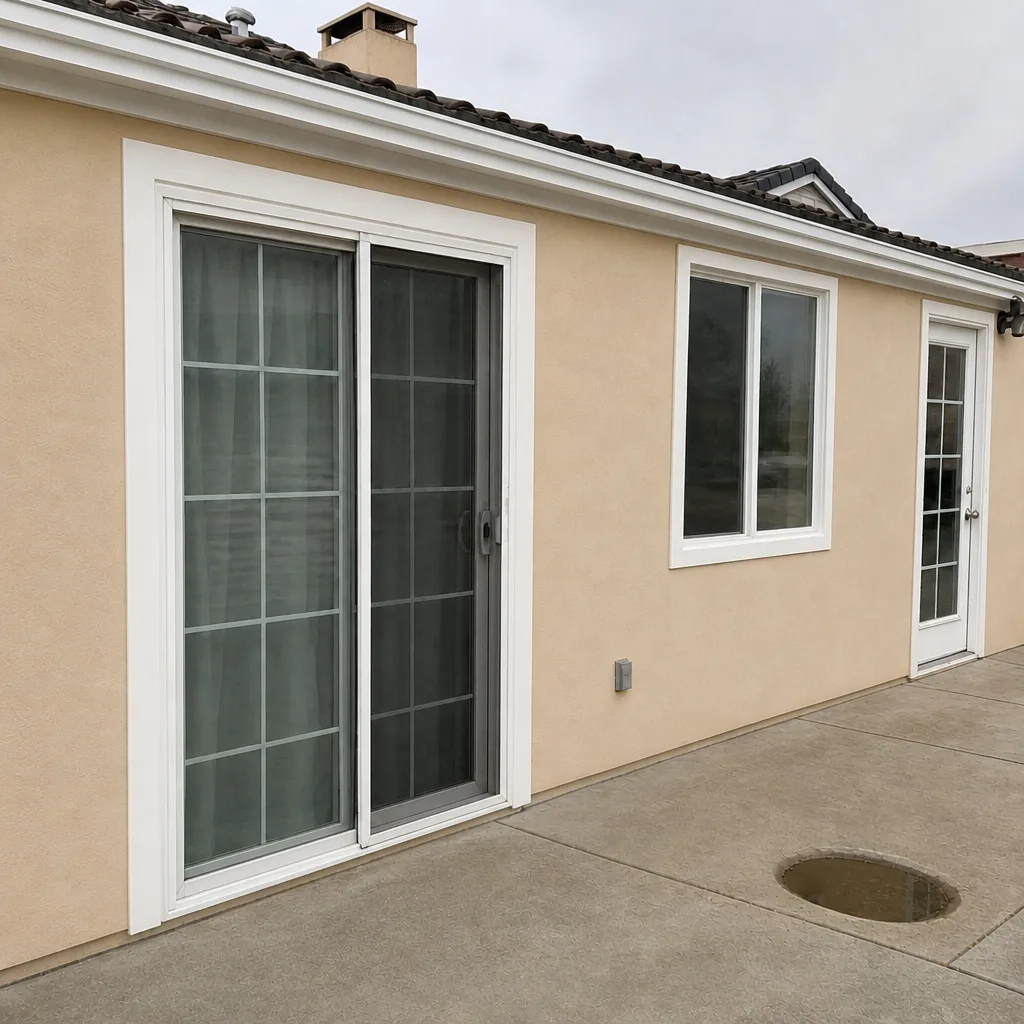 After
Frequently Asked Questions
In many cases, yes, through an owner-builder permit on a home you own and occupy, but window and door replacement in an exterior wall often triggers a permit and inspection. Confirm with your local building department before you start. If a licensed contractor pulls the permit, that burden comes off your plate entirely, which is one reason homeowners choose professional installation.
Often it narrows or voids coverage, because many product warranties condition coverage on professional installation to the manufacturer’s written instructions. Read the specific product line’s warranty before you buy, and register the product if the brand requires it. If you’re unsure, ask the installer to walk you through the coverage before signing. Call us at (844) 722-8594 for a free estimate and we’ll do exactly that.
Full frame replacement in stucco is the highest-risk task, because it involves cutting the exterior finish, rebuilding the flashing and weather barrier, and re-sealing the envelope. A mistake there doesn’t show up as a draft. It shows up as water damage inside the wall, often two or three monsoon seasons later. That’s a professional job.
Weatherstripping, hardware swaps, and door slab replacement into a sound existing frame are all reasonable DIY projects. They fail small. The worst case is a draft or a non-latching door, not a rotted wall. Caulking and touch-up sealing at existing joints is also a good homeowner task, and it’s genuinely useful upkeep.
A professional window replacement is priced per job by a written line-item estimate, and Whitney Windows & Doors offers free estimates so you can compare directly. DIY saves the labor line but adds tool rental, permit fees, disposal, and the probability-weighted cost of mistakes. If you want a written number to compare your DIY math against, call (844) 722-8594. Estimates are free.
Yes. As a licensed contractor we pull the permit and manage the inspection on window replacement and door installation projects. That’s part of the value of going professional, especially in a market where unpermitted work can complicate a future sale. Call (844) 722-8594 to schedule a free estimate and we’ll outline exactly what’s involved.
The Bottom Line
The DIY-versus-professional question for windows and doors isn’t about whether you can handle a screwdriver. It’s about what a failure costs you. Weatherstripping and hardware are genuinely good homeowner projects. Full frame replacement in stucco, sliding glass door replacement, and anything that touches flashing or an inspection should go to a specialist. Factor tool rental, permit fees, and the real probability of a missed detail into your DIY math, and the savings often look smaller than the risk. Whitney Windows & Doors is a specialist installer carrying PGT, CGI, CWS, ES Windows, ECO Window Systems, Mr-Glass, Therma-Tru, and ViewLux. Eight trusted brands. One installation team. Replacement done by specialists, not generalists.
Ready to compare your options? Call (844) 722-8594 for a free estimate. We answer 24/7. Fast dispatch from 7am to 7pm, Sunday through Friday. Visit Whitney Windows & Doors to see the full product portfolio and the services we offer.
Written by the team at Whitney Windows & Doors.